
Moving Clients into Dubsado
Welcome to Dubsado - the last CRM you'll have to try! We're so happy to have you. We've created this step-by-step tutorial with our best tips, tricks, and hacks to getting your clients moved over quickly.
Step 1: Your current process
Open up the platform that you've kept your clients organized in up to now. This might be a google sheet, doc, or another CRM.
Go through your active projects/bookings and choose which clients you want to move to Dubsado. Mark them by setting them aside or highlighting them.
TIP: It helps to give yourself buffer while you're transferring clients, so we recommend setting your date to be a month from now. Every client who's project will still be active past one month from today, you will move over. You can always transfer past clients over later down the road. This way just ensures you are getting your active clients in Dubsado asap so they can experience your new up-leveled experience!
Step 2: Dubsado
Login to your Dubsado account > go to PROJECTS > and select CUSTOMIZE
A window will pop up where you will select JOB and type in what you want this Project Status to be. In the example below, we chose "Transferred clients," but you can name this "Booked," "Weddings," "Contract signed" or whatever feels best for you.
Step 3: Dubsado
Go to the left side of your screen and select TEMPLATES > FORMS.
Now you'll see the FORMS screen where all of your templates will live. Look to the far right and you'll see LEAD CAPTURE.
The lead capture form will be what you embed on your site later on, but we're going to have one JUST for transferring clients.
Apply the "Transferring clients lead capture form" to your Dubsado account by clicking HERE! **you must be logged in to see the option to "copy to account"
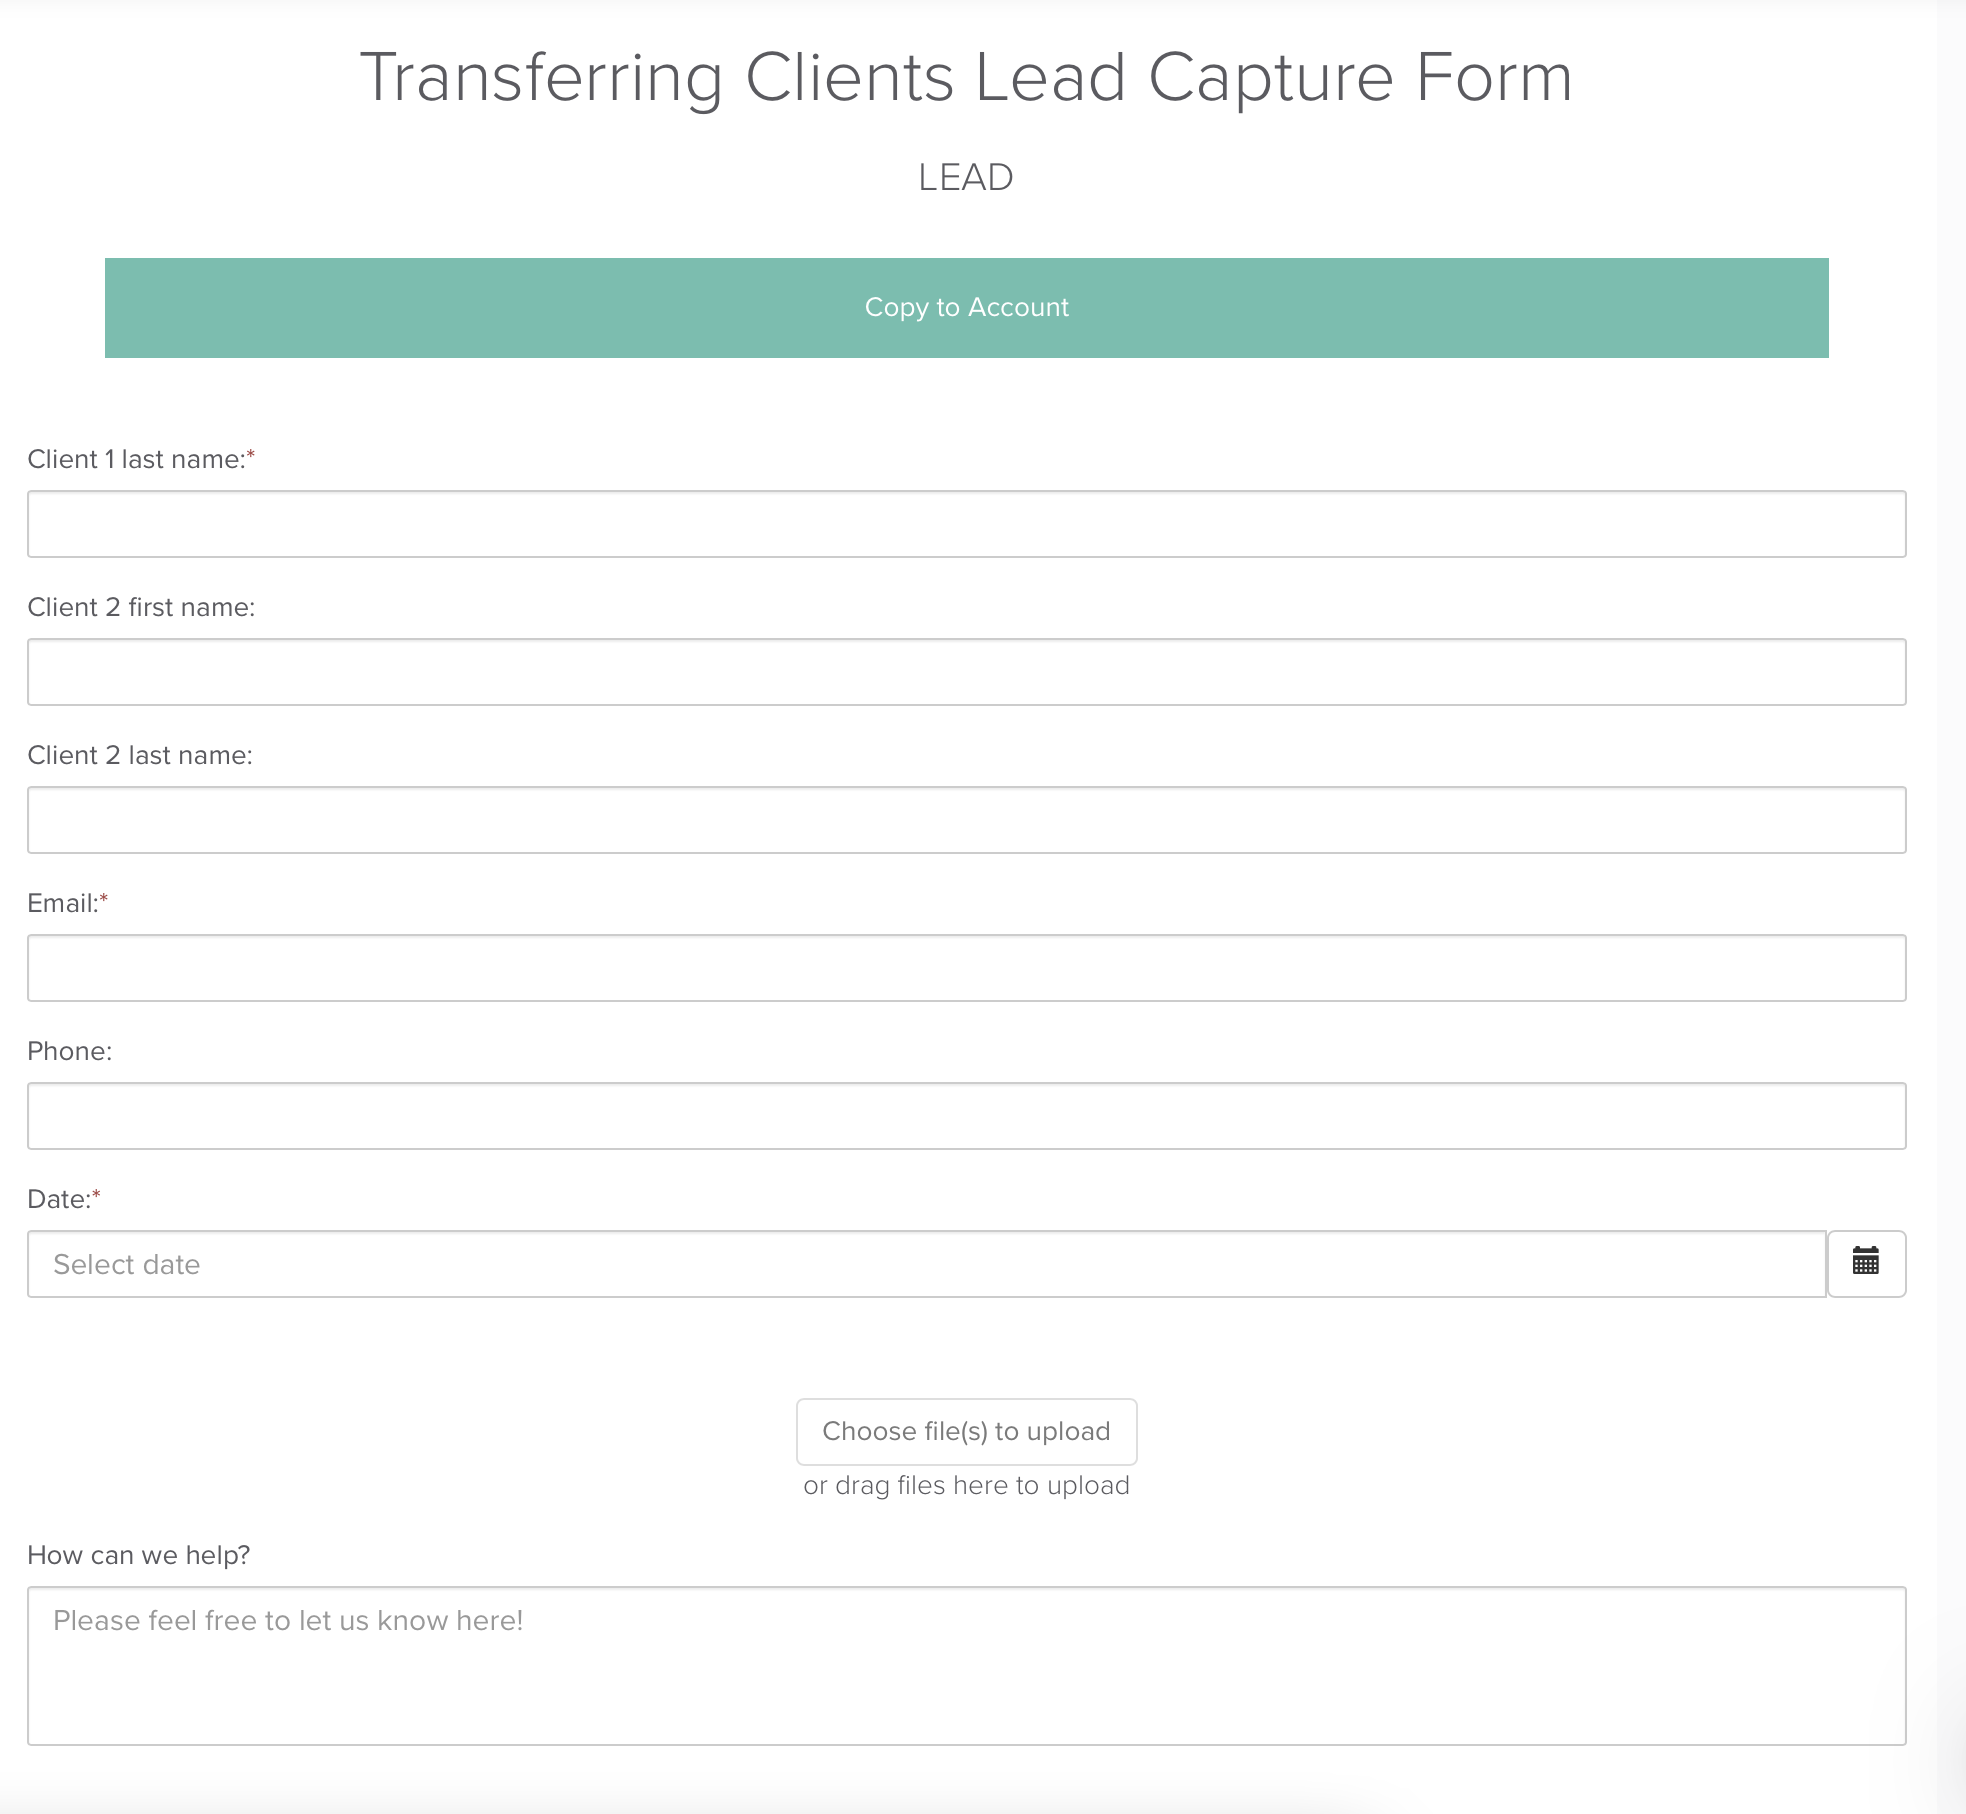
Once the form is copied to your account, you're going to go to the SETTINGS (gear on the left) > scroll to PROJECT STATUS and select the status you created in step 2.
TIP: To transfer their inquiry details as well, add questions to this form that are on your current contact form.
Step 4: Dubsado
Find the SHARE icon. It's the last icon when you look at the far left of your screen. Click the icon and scroll to find and copy your "direct link."
Open a new window and paste the link to see your lead capture. Minimize this page for now, but do not close it. You're going to need it in a minute.
Step 5: Your computer
Make a folder on your computer called "client transfers." If you have space on your desktop for this folder, it'll be that much easier to find!
This folder is where you're going to download all of your completed client documents that you want to transfer to Dubsado.
Woohoo! You've got your foundation set. Now, let's begin the transfers!
Tip: Split your screen to see your current setup on the left and your Dubsado lead capture window on the right. This will make transferring so much faster!
Step 6: Your current process
Open your document or other CRM and pull up your first project to transfer. Download any completed forms to the folder on your computer.
Input the client and project information into your Dubsado lead capture form and press SUBMIT. You will upload completed forms to these projects at a later step.
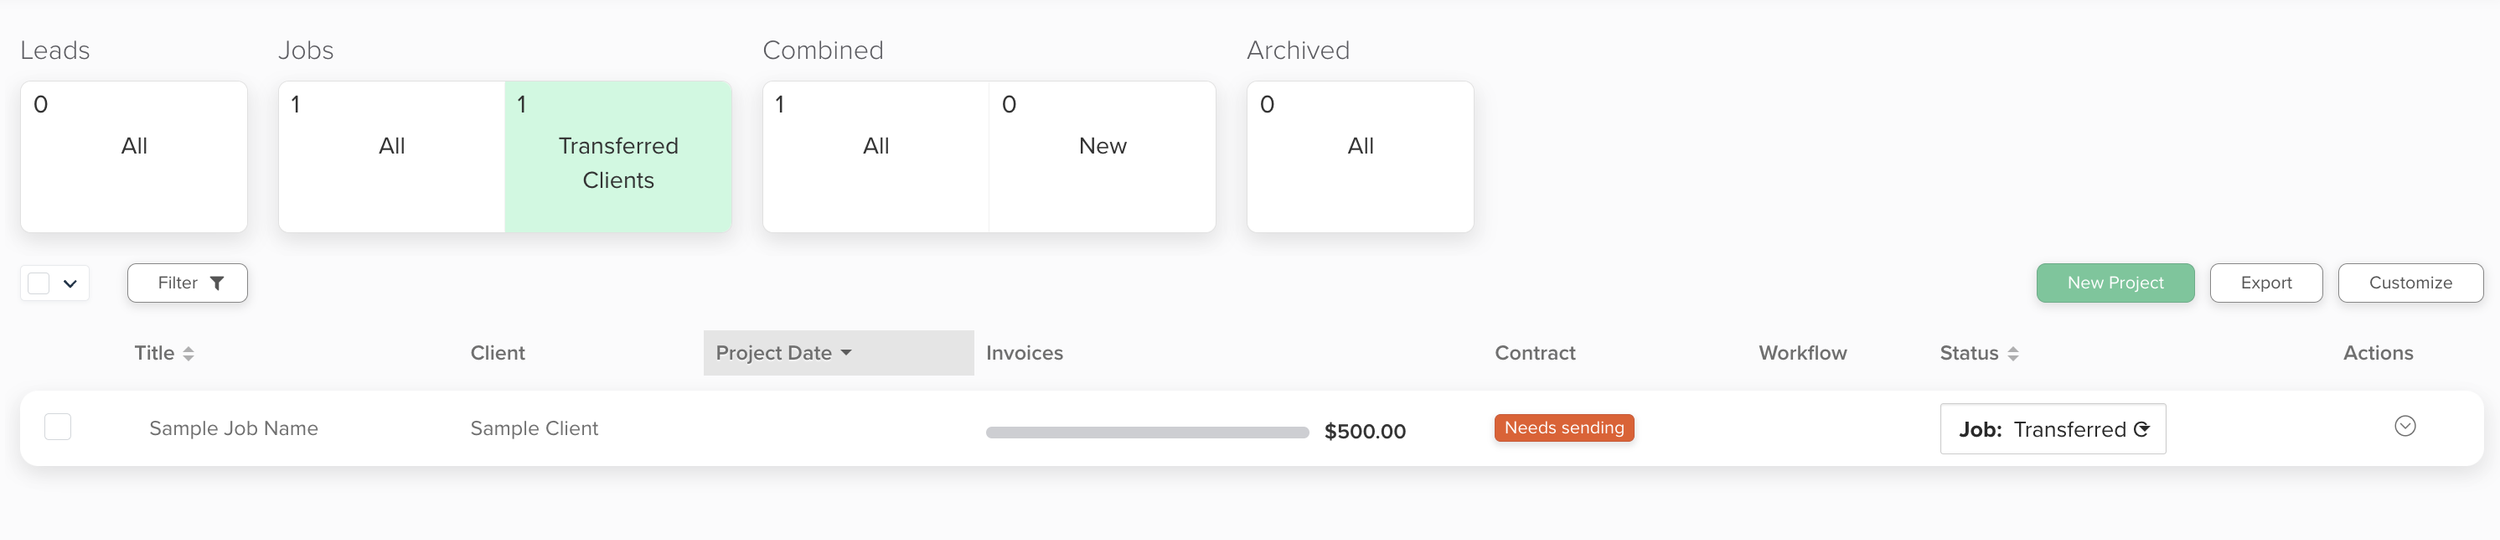
Your client will now show up in Dubsado when you go to PROJECTS under the status you made in step 2.
Step 7: Dubsado
Open the project in Dubsado and follow these steps.
→ Upload your contract as a PDF into the project where it says "Contract" on the left.

→ Go to the INVOICE tab and add in your invoice details and apply any payments your clients have already made. You can also set up a payment plan for the rest of their payments due.
Tip: Use "fixed" payment due dates on the invoice for clients that you're transferring over.
→ Go to the FORMS tab and upload all of the completed client forms and questionnaires using the "upload as pdf" option.
→ Go to the TASK and NOTES tabs to add in any tasks or information you have left for this client that you want to bring with you to Dubsado.
Step 8 (Last step!): Repeat the process for your other transfer clients and you'll be done in no time!
You'll also be so much more comfortable using your new system!
Telling your clients about the change
Here at Dubsado, we want the process of transferring clients to be as seamless as possible for both you AND your clients. We highly recommend sending an email to your clients that includes:
→ The new link to view their contract
→ Their new invoice link (that shows payments made and payments due)
→ Notification that their autopay has been turned off in your other system so they will have to agree to autopay again in your new system. Read about Dubsado's autopay enrollment settings for more details.
→ Most importantly, let them know that you moved to better their client experience and make it all the more seamless to work together!
What you have to look forward to. From others who moved to Dubsado:
"I recently made the switch to Dubsado, and so far I'm really loving it!"
"I really like the ability to customize to my brand in Dubsado."
"I transferred everything over to Dubsado and went further with customizations and such. I prefer their workflows, more customizable project statuses, and contract setup."
"I’ve been in business 10 years and finally moved to Dubsado, which I've loved!!"
If you ever have any questions, reach out to our Customer Care team through the bubble on the bottom right of your account.
Warning: We've been known to send GIFs. ;)


